Pages

Showing posts with label Organization. Show all posts

Wednesday, April 10, 2013

Spring Cleaning and Organizing


How is your spring cleaning coming along? As you re-organize and clean out, remember that you must make your space functional for you! What works for me may not work for you, but we can always be inspired by others' projects. I wanted to bring a little inspiration your way today to perhaps help with your spring cleaning motivation!

The Kitchen

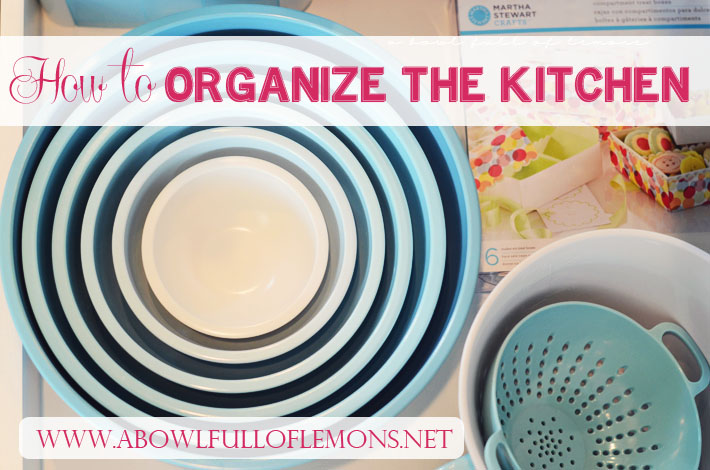
The kitchen is definitely on my mind because I just completely cleaned mine out this week! Whew! Yes, it was work, but I was motivated by this post. This blog is actually on the top of my list when it comes to organizing! 

Click here to read all about it!


The Closet

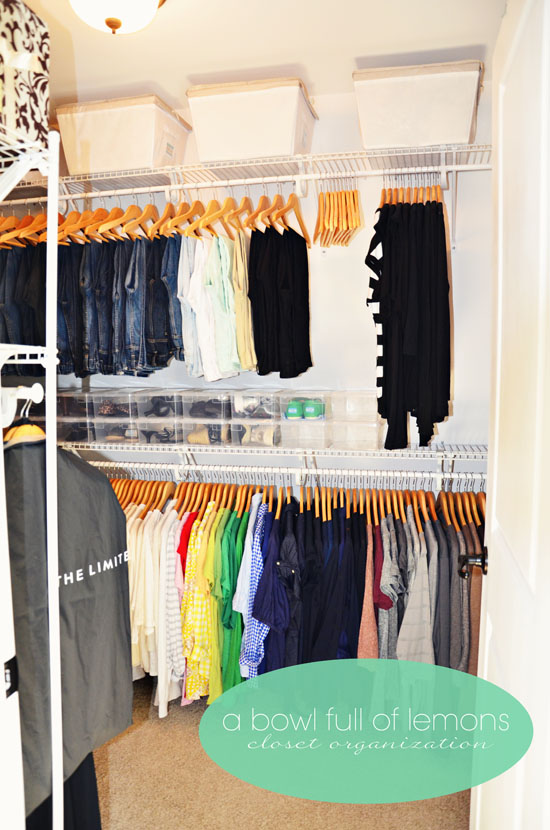
Here's an earlier post on organizing my closet! (Just in case you missed it)
Click Here to check it out!
Here's some more pantry inspiration:


Click Here

The Pantry: 

An organized pantry just makes working with food so much more fun!

Click Here!


Click Here!

For those with smaller spaces or just cabinets....
IMG_6826

Click Here!

The Laundry Room:


Sorry, just a pic for these two!


I love the shelving here...for those of us who only have a closet, not a room. 


This makes me smile! Using pretty baskets to hide everything! Love!
Click Here!

I'd love to see your organizing projects! 


Tuesday, March 12, 2013

Tuesday Tune-Up: All Wrapped Up

I've started my spring cleaning! Yay! I tackled my closets this week (well, all but one) and I moved some things around in my attempt to re-organize a few clutter spots. I really needed some concise storage for my wrapping paper, tissue paper, and gift bags. I remembered that I had posted a few solutions for this on pinterest.

So, I found what I thought was the best tutorial on using a shoe-organizer to create a wrapping paper station.  I followed her steps exactly, making a few material substitutions, so I'm including the link here to the post I followed.

Here's what my finished project looks like!

The only closet I could really use was my coat closet downstairs. Not where I would keep it if I could choose, but really the only place for it. 


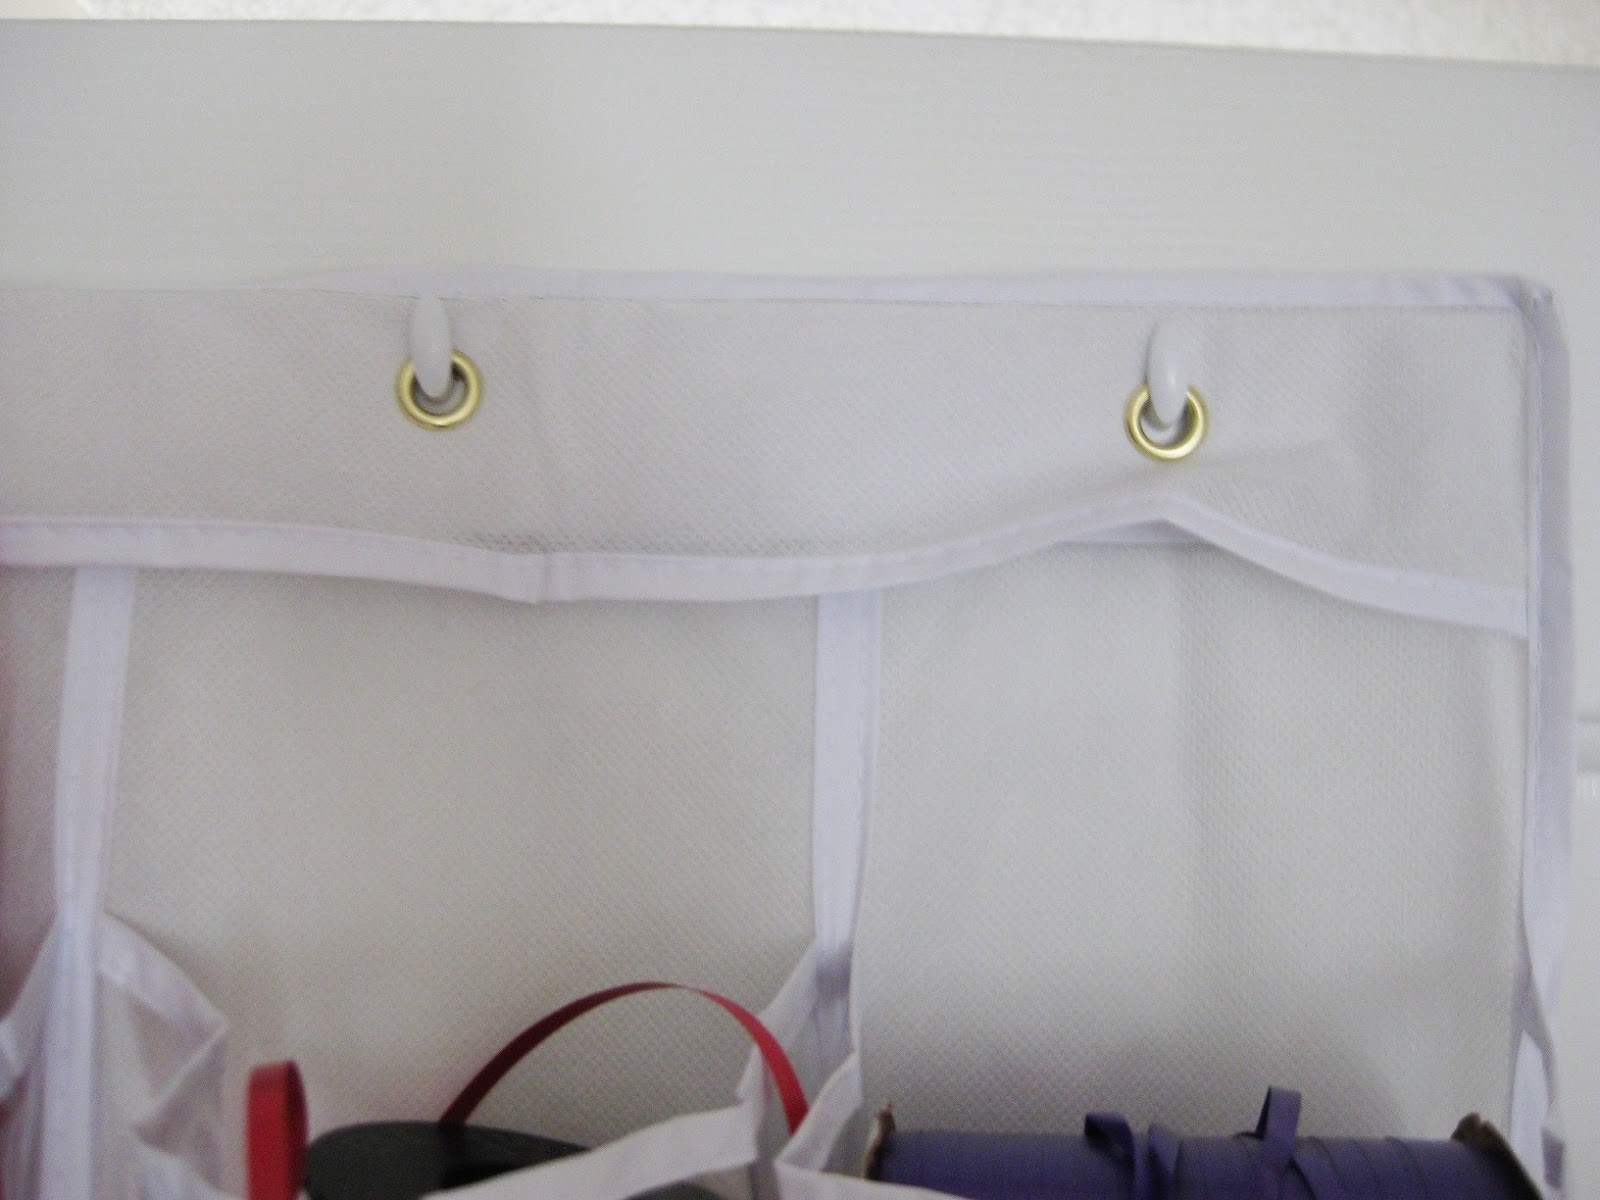
The sack I sewed on the bottom holds all of my gift bags. My modification for this was using a ribbon as drawstring instead of elastic on the top (mainly because I didn't have any elastic on hand). 

If you don't have a sewing machine, you can always use an old pillow case and safety pins to create the sack on the bottom. 


Tissue paper and ribbon stored at the top.


My second modification was using 3M hooks instead of the over-the-door hooks provided.

This project is super simple and it's a great way to keep all of those wrapping supplies in one place! 

I'd love to hear about your solutions for organizing wrapping paper! 

Linking up with A Bowl Full of Lemons


Wednesday, March 6, 2013

Spring Cleaning Checklist


Can you believe that it is time for Spring Cleaning already? I can't. Semi-annual cleanings can always seem like such a daunting task, but I always feel so awesome about my house when the cleaning is complete!

My Spring Cleaning takes place in March and April. Guess what. It's March which means it is time to get busy! I'm starting this week.

Before starting the seemingly overwhelming task of Spring Cleaning, take some time to organize your approach. In the past, I used to simply start in one room and see how far I could go. However, by not organizing my cleaning, I would inevitably miss something.

To keep this from happening to you, start by making a list. Go room by room and write down everything that needs to be cleaned or touched up in that specific room. This is how you will form your checklist. Don't leave off hallways and closets - they need attention too!

Once you have your list, organize your products. Get everything you need to get the cleaning done. I have several favorite products for specific needs, but I'm slowing making the switch to natural, homemade cleaners. Select just a few that will cover your needs. There is no point in lugging around a box of cleaning supplies.

Set a time goal. Give yourself and window of time in which you would like to have your cleaning completed. Schedule certain days that you can simply tackle some of the larger projects.

Then, start cleaning! Here's my cleaning checklist. I adapted it and made it my own while copying a model from a blog that I follow. The key to your checklist is making it your own. No one has the same house, therefore everyone's list should include some variation. But, if you need help getting started, take a peek at mine.


BEDROOMS:

o     Dust lighting fixtures and ceiling fan.
o     Dust furniture.
o     Clean lampshades.
o     Clean mini blinds.
o     Wash windows and window sills. Take out and wash window screens.
o     Wash switch plates.
o     Wash walls and trim.
o     Wash doors and doorknobs.
o     Wash vent covers.
o     Switch out winter clothes for summer clothes in closet.
o     Clean out drawers and neatly replace clothes.
o     Get rid of anything you didn’t wear this year.
o     Vacuum closet floor.
o     Move bed. Sort and put away what you can. Vacuum under bed.
o     Launder bedding and curtains.
o     Freshen mattress by sprinkling with baking soda, letting sit briefly, and them vacuuming it up.
o     Wash mirrors.
o     Replace light bulbs.
o     Vacuum room.

BATHROOMS:

o     Empty cabinets and vanity. Wash inside. Discard expired products. Replace items neatly.
o     Wash outside of cabinets and vanity.
o     Clean tub. Wax if necessary. Clean out drain.
o     Clean sink and drain.
o     Shine faucets.
o     Clean mirror and frame.
o     Wash light bulbs.
o     Dust light fixtures.
o     Dust blinds.
o     Wash windows and window sills.
o     Wash screens.
o     Wash switch plates.
o     Wash walls and trim.
o     Wash doors and knobs.
o     Sweep and mop floors.
o     Reseal grout lines.
o     Caulk if needed.

KITCHEN:

o     Wash windows and sills.
o     Wash screens.
o     Clean mini blinds.
o     Cabinets and drawers: Remove items, clean inside of cabinet/drawer, return items and organize them.
o     Wash and sanitize cutting boards.
o     Wash outside of cabinets including knobs.
o     Wash the tops of the cabinets and dust accessories.
o     Wash doors.
o     Dust light fixtures.
o     Clean oven.
o     Clean stove top. Remove drip pans and clean.
o     Clean and organize fridge and freezer. If necessary, defrost freezer.
o     Roll out the fridge and stove to clean under and behind them.
o     Vacuum refrigerator coils.
o     Clean microwave inside and out.
o     Clean toaster.
o     Clean and descale coffee pot.
o     Wipe down all appliances.
o     Sanitize counter tops.
o     Wash and shine sink.
o     Clean drain and garbage disposal.
o     Clean dishwasher.
o     Sweep and mop floor.
o     Wash kitchen mats/rugs.
o     Clean the garbage can inside and out.

DINING ROOM:

o     Wash curtains.
o     Wipe down table and chairs.
o     Dust furniture.
o     Empty China cabinet and dust inside. Replace items.
o     Shine silverware.
o     Dust art.
o     Wash mirrors.
o     Wash windows and window sills.
o     Wash window screens.
o     Wash blinds.
o     Wash switch plates.
o     Wash walls and trim.
o     Wash doors and door knobs.
o     Clean floors.

LIVING ROOM:

o     Vacuum sofas.
o     Spot clean sofas.
o     Launder throw pillows and blankets.
o     Dust shelves, furniture, and décor.
o     Clean lamps and lampshades.
o     Wash windows and sills.
o     Wash window screens.
o     Clean television screen.
o     Carefully dust electronics.
o     Tidy electronic wires.
o     Organize DVDs, magazines.
o     Sanitize hard plastic toys.
o     Launder stuffed toys.
o     Wash switch plates.
o     Wash walls and trim.
o     Clean floors.

LAUNDRY ROOM:

o     Pull out washer and dryer.
o     Clean behind and under washer and dryer.
o     Wash outside of washer and dryer.
o     Wash inside of washing machine.
o     Wash lint trap.
o     Clean out dryer hose.
o     Wash doors and trim.
o     Clean floor.

HALLWAY:

o     Empty coat closet.
o     Clean floors and discard any unused items.
o     Organize coat closet.
o     Clean doors and wash trim.
o     Wash walls.
o     Clean floors.
o     Dust art.

STAIRWELL:

o     Sweep/vacuum stairs.
o     Spot clean walls.
o     Wipe down handrail.
o     Wash baseboard.

OUTSIDE:

o     Sweep porches and walkway.
o     Wash thresholds.
o     Wash exterior doors.
o     Give doors fresh coat of paint if necessary.
o     Clean or replace welcome mat.
o     Power wash vinyl siding.
o     Power wash deck.
o     Stain deck.

EXTRAS:

o     Clean ceiling fan blades.
o     Organize photos (digitally or into albums).
o     Sort and clean linen closets, utility closets, and office spaces.
o     Dust, clean, organize all bookshelves. 

Look for posts this month that focus on specific cleaning areas and needs. 

Happy cleaning everyone!

Tuesday, February 26, 2013

Tuesday Tune-Up: Pantry Organization 101


Hello everyone! I am super ecstatic about this week's tune-up! It's a project that I was able to complete this past week which has dramatically lowered my stress level when opening the pantry door. Yes, I'm becoming more and more OCD about organizing because, let's be honest, clutter makes me crazy! Really, if I'm feeling the pressure of clutter, it's hard to sleep at night.

As a result of this project, I was able to eliminate some clutter and recreate my pantry into a completely functional space. I was actually so excited about starting that I forgot to take "before" pictures. So sorry, but I'll do my best to explain what I had and how I changed it.

What's even better about this whole project is that I was able to organize with things that I already had and only had to get a few things from the Dollar Tree! That's right, it's basically a no-cost project. Yay for thrift!

The project, in case I forgot to mention, was reorganizing my pantry! I want to share with you a few helpful tips about creating a functional space to store all that food supply! Let's get started!

#1: Recycle Containers.

I have seen so many pictures on pinterest with gorgeous glass containers for storing dry goods. I wanted the same look, but didn't want to buy a superfluous supply of glass jars. What's a girl to do? Save all glass jars from other products. I started collecting Mason jars, spaghetti jars, salsa jars, etc. the result, a shelf full of pretty glass jars, protecting my dry goods.

Another re-use - the soda box. Yes, I took 4 soda boxes and used them to store my canned goods. Cans take up a lot of space if you stack them on the shelf. So, I wrapped them in pretty paper (well, two of them still need wrapping paper) and voila! can holders. I then organized what went into each box. For example, one box has all of my soups, one vegetables, and so on.

The key, find things that you can use around your house. Unless it's in your budget, there's no need to spend your hard-earned money on things you can gather up yourself.

#2: Get items out of boxes and packages.


I found that my cereal was going stale before we could finish it (even though I clipped the bag), snacks were going bad, and boxes would get lost. Simple solution? Put things in containers that I can see through! This is where the glass and plastic boxes come in. I found airtight containers for my cereal, pasta, goldfish, etc. I only keep a few things in boxes - particularly things that when opened, will be used in entirety.

Not only do the containers keep items fresh, but they make it so much easier to find and access the item that I want.

#3: Organize items according to type.

Those $1 plastic boxes on the top shelf are items that I have taken out of boxes and put together by types of product. I put all snacks in one box, baby snacks in another, oatmeal in one, K-cups in several :) - you get the idea.

I use large bins for bulkier items, or those boxes that I do decide to keep.

#4: Label.

Labels are essential and super helpful. I didn't print any fancy labels (but there are some really cute ones out there!) I just used a punch, blue paper, and a pen to label each container. I can pop the label off of the jars if they need to be washed, or quickly change the label if I want to use the container for something else.


Well, hopefully these tips will help you. Let me show you exactly what I added to my pantry:


I already had things organized in my shoe boxes, but I decided to move them from the 3rd shelf to the top shelf. This made them much easier to grab and get into. Plus, they seem to give the pantry a cleaner look up there! The clear and glass containers stayed on the second shelf where they were previously. 


The third shelf houses my soda boxes filled with canned goods, a white container with baking goods, and two baskets: one for boxed mixes and the other for snacks. The bottom shelf holds a brown bin with all of my plastic food containers (I didn't want them seen at all), a blue basket with surplus sugars and flours, a magazine holder that keeps my lunch bags together, and a snack basket for little O. 
I really wanted a spot to put snacks for him that he could easily access and choose from. 
The floor level is where we keep the dog food (in a sealed container so it doesn't smell) and all of the surplus product I keep in my stock pile. 

Previously, I had crock pots stored on the floor level, which really crammed everything else onto the other shelves! Chaos I tell you!


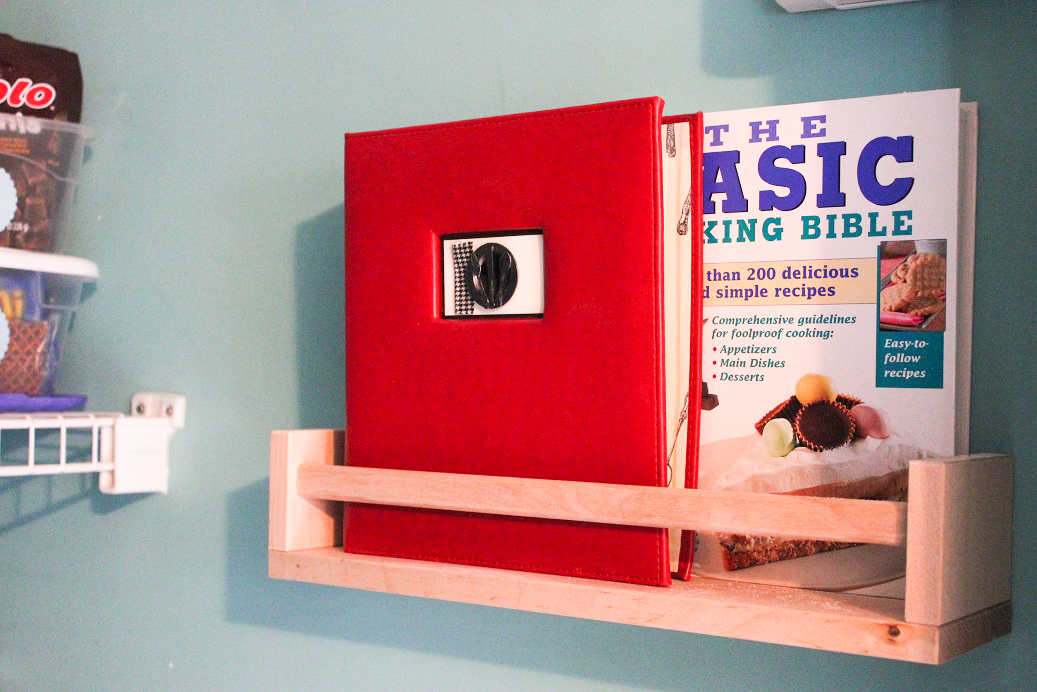
IKEA has these great little spice racks that I am using to hold by recipe books. Of course, they only had one in stock, so I'll have to go again to get the other two that I want :)


At the Dollar Tree, I purchased this hook rack, anchored it in, and finally got my mops and broom off of the floor. Now they won't fall over all of the time :) 


Another glace at O's snack basket. It's probably my favorite thing in the pantry! 

Well, there you have it! Simply Pantry Organization! 
Happy Tune-Up!

Monday, February 18, 2013

Makeover for Monday!

Ok, folks! Here are the pictures from my closet makeover! A special thanks to my Dad who did all the work  and made it possible!

I definitely knew that my closet needed some work. It seemed as though I was wasting too much space. In addition, I really wanted a snazzy place to put my shoes. My sister-in-law's closet inspired me to make most of these changes.

Here's a shot of the "before":


Pretty much a lot of chaos in there! I have bins on the shelf for more shoes and junk.

My Side of the closet and Hubby's side of the closet - crammed in there for sure!

Things just weren't flowing well in here at all! 

So, I gutted it out and started over!
I moved the main shelf up and added another to double my hanging space all the way across. I kept the two side shelves on the left, and Dad installed some nice shoe shelves for me on the left! Yay for shoes!
My shoe shelves! (sorry the blog pic uploader keeps turning this pic sideways)

Now to load the closet again!
Making use of the doors - Here's my homemade necklace storage. Just a cork board, fabric, and push pins! I love it. 

My husband's ties and hats hang on the second door. Yes, he has a lot of ties, but he has to wear one 6 days a week! 
Oh, yes! That's much better! My half on the left and hubby's on the left. I love that all that mumble jumble floor clutter is gone!

My purses sit on the top shelf, then my shoes! Yay!


It is so much neater and less stressful now! We were also able to add my husband's polos to the closet - They were previously hanging out in the guestroom. 

Well, that's my closet makeover! What do you think?


Tuesday, February 12, 2013

Tuesday Tune-Up: Drop Your Drawers!


Drop Your Drawers! Literally! If they look anything like this picture, you need to dump them out and start over!

One of my organizing goals for January was to revamp my drawers! Yes, they did look this horrible! Yikes! Talk about a nightmare when I was looking for something specific. A drawer like this can almost be rendered useless - it's entirely impractical. If you are suffering from a similar drawer disorder, allow me to share some tips with you that made my drawer space functional and organized (and it didn't even take much time). 

Tip #1: It is best to have only one layer of clothing per drawer. This is a rule that I NEVER lived by until I saw it on an organizer's blog a while back. I started to apply this practice to my underwear drawer and then my t-shirt drawer. Now, I've applied it to almost every drawer. Why? Keeping only one layer allows me to see everything in the drawer when I open it. I don't have to do digging to the bottom to find my pink cami.

Tip #2: The roll effect - To achieve the one layer rule, use the roll folding effect and neatly stack each article of clothing from front to back. 

I "rolled" my camis in a tri-fold with the spaghetti straps neatly tucked away on the interior. 

Tip #3: Organize according to color and style.  As you can see from the picture above, I put all of my whites together, then blacks, then followed with the colored camis. Finally, I put my ribbed tanks on the far right. 

Tip #4: Get rid of what you don't need. Anytime you dump a drawer, be sure not to put anything back that you don't wear. De-clutter by getting rid of what you do not need or do not wear! 

The finished product is a functional drawer that you won't dread opening!


Friday, January 18, 2013

Fabulous Friday Finds!

I've been researching and checking out all kinds of organization tips and pics to share with you as you head into the weekend! Here are a few spots that might get those organization juices flowing and help you meet your organizational goals for the month!

Check out this gorgeous pantry at thesocialhome.

This site has wonderful pictures and videos for all areas of your home. Visit alejandra.
bathroom organization

I love this idea for storing small items! Creatingkeepsakes also has more ideas for craft storage. 

Check out mygreatchallenge for tips on pure organization - surely something we all struggle with!

iheartorganizing  is one of my personal favorites when it comes to organizing. She just posted her new kitchen makeover and it is to die for! 

This wrapping station is definitely on my to-do list! Can't wait to free up the space it's taking up in my closet floor. And how easily accesible!


I also love this linen closet from iheartorganizing! I have no linen closet in my home, but a cabinet like this will work wonders!

I attempted to find things that were practical for most of us! Yes, there are some lavish pictures of closets and pantries, but let's face it, most of us don't have those big spaces! 
I'm learning to work with what I have - that's the key! 

I'd love to see and hear what you are doing to organize! Leave me comments and updates! 

Thursday, January 17, 2013

Home.Organized: creating a home planner

Well, I toyed and toyed with this idea, decided to give it a test run in November and December, and due to its fabulous success, have embraced this organizing idea for 2013!

A Household Planner. This seemed like a very daunting task to me the first time I was introduced to it. However, as I contemplated the thought, the idea grew on me. So much so that I decided to give it a whirl. I am so excited about using it this year to keep my home organized!

Its purpose? To help me keep track of everything going on in life and to keep it in one place. After searching and searching for just the right pieces to go into my organizer, I have finally completed it and already put it to use this month.

Here's what I did:


(1) Purchase: Notebook, Dividers, Pocket pages

(2) Find: Printables online to meet my organization needs

(3) Print: Everything that I wanted to go in my organizer

(4) Label: All of the sections of my notebook. 

(5) Complete: Fill in calendar, information sheets, to-do lists, etc. 

Ok, so that sounded super simple right? It was! The only time-consuming part was finding all of the printables and handouts that I used, but I'm including links to all of them for you! (If you want to use the same ones). 

My Sections:


(1) Calendar. This includes a monthly calendar through December of this year. I will write down all events on this calendar to keep up with our very busy lives. (Yes, some people prefer to do this electronically on an app, but I like to see the big picture written out - call me old-fashioned :) Click here to download a 12-month calendar.


(2) Weekly Plans. This is one of my personal favorites! I love this printable weekly planner. Mine hangs on my fridge in my Mead Organizher fridge organizer! I keep all of the blank ones in my planner and pull one out on Sunday night and fill it in for the week, then to the fridge it goes! Click here for weekly planner printables. 


(3) Meal Planner. I found this handout that coordinates with two others in my book! Yay! for coordinating colors. What does the meal planner do? Makes me plan out what my family is going to eat for the week. I try to base our meals on what we already have in the pantry, but if I need to grab something at the store, I can write it on the grocery list on the right side of the page. I keep my meal plans in my fridge organizer as well so that I can quickly glance at them to remind myself what's for dinner. Click here to get your free meal planner printout. You may have to scroll down on the page when you get there, but it is there :)

(4) Blogging. I also printed 52 of these blogging planners. Obviously, you won't need this section if you don't blog, but I love to take one out each week and hang it on my bulletin board above my desk. Keeps me focused and in-check for writing. Click here if you are interested. I also store and keep ideas in the pocket folder for this section. Did I mention I love my pocket dividers? They are so practical!

(5)To-Do Lists: Here I use a master list that includes a start date, task description, and target date as well as a check box for the completed task. (I just love checking items off my list!) Although there are many to-do lists out there I finally settled on this one Click here to download it yourself!

(6) Reference Section: This section is home to all kinds of information sheets. Anything from an emergency information sheet, pet information, birthdays, party planning, gift purchases, to thank you card records. I don't keep these in bulk, but rather use them to make copies if needed or simply keep them in the book for useful information. 


(7) Budget: Here I keep a ledger of our monthly expenses. Pretty simple, but very needed. 

(8) Cleaning: Oh yes, tips, recipes, tricks, cleaning plans, all of it is kept here.  Click here for the source to a few of my favorite cleaning tracks and organizing sheets. 

I plan to add a few more sections as I find need for them, but for now, I am loving the help that my household planner is giving me.

Whatever your stage or style of life may be right now, I seriously suggest using some type of planner to help you keep your home organized. It is our job as wives and moms to run our home in a way that is decent and in order. Just look at the Proverbs 31 mom - she was most certainly organized! 

Of course, my planner and its sections are not going to work for you. You must make your planner work for you! Take this idea and adapt it to fit your needs! 

Happy planning!