

Hello everyone! I am super ecstatic about this week's tune-up! It's a project that I was able to complete this past week which has dramatically lowered my stress level when opening the pantry door. Yes, I'm becoming more and more OCD about organizing because, let's be honest, clutter makes me crazy! Really, if I'm feeling the pressure of clutter, it's hard to sleep at night.
As a result of this project, I was able to eliminate some clutter and recreate my pantry into a completely functional space. I was actually so excited about starting that I forgot to take "before" pictures. So sorry, but I'll do my best to explain what I had and how I changed it.
What's even better about this whole project is that I was able to organize with things that I already had and only had to get a few things from the Dollar Tree! That's right, it's basically a no-cost project. Yay for thrift!
The project, in case I forgot to mention, was reorganizing my pantry! I want to share with you a few helpful tips about creating a functional space to store all that food supply! Let's get started!
#1: Recycle Containers.
I have seen so many pictures on pinterest with gorgeous glass containers for storing dry goods. I wanted the same look, but didn't want to buy a superfluous supply of glass jars. What's a girl to do? Save all glass jars from other products. I started collecting Mason jars, spaghetti jars, salsa jars, etc. the result, a shelf full of pretty glass jars, protecting my dry goods.Another re-use - the soda box. Yes, I took 4 soda boxes and used them to store my canned goods. Cans take up a lot of space if you stack them on the shelf. So, I wrapped them in pretty paper (well, two of them still need wrapping paper) and voila! can holders. I then organized what went into each box. For example, one box has all of my soups, one vegetables, and so on.
The key, find things that you can use around your house. Unless it's in your budget, there's no need to spend your hard-earned money on things you can gather up yourself.
#2: Get items out of boxes and packages.
I found that my cereal was going stale before we could finish it (even though I clipped the bag), snacks were going bad, and boxes would get lost. Simple solution? Put things in containers that I can see through! This is where the glass and plastic boxes come in. I found airtight containers for my cereal, pasta, goldfish, etc. I only keep a few things in boxes - particularly things that when opened, will be used in entirety.
Not only do the containers keep items fresh, but they make it so much easier to find and access the item that I want.
#3: Organize items according to type.
Those $1 plastic boxes on the top shelf are items that I have taken out of boxes and put together by types of product. I put all snacks in one box, baby snacks in another, oatmeal in one, K-cups in several :) - you get the idea.I use large bins for bulkier items, or those boxes that I do decide to keep.
#4: Label.
Labels are essential and super helpful. I didn't print any fancy labels (but there are some really cute ones out there!) I just used a punch, blue paper, and a pen to label each container. I can pop the label off of the jars if they need to be washed, or quickly change the label if I want to use the container for something else.
Well, hopefully these tips will help you. Let me show you exactly what I added to my pantry:

I already had things organized in my shoe boxes, but I decided to move them from the 3rd shelf to the top shelf. This made them much easier to grab and get into. Plus, they seem to give the pantry a cleaner look up there! The clear and glass containers stayed on the second shelf where they were previously.

The third shelf houses my soda boxes filled with canned goods, a white container with baking goods, and two baskets: one for boxed mixes and the other for snacks. The bottom shelf holds a brown bin with all of my plastic food containers (I didn't want them seen at all), a blue basket with surplus sugars and flours, a magazine holder that keeps my lunch bags together, and a snack basket for little O.
I really wanted a spot to put snacks for him that he could easily access and choose from.
The floor level is where we keep the dog food (in a sealed container so it doesn't smell) and all of the surplus product I keep in my stock pile.
Previously, I had crock pots stored on the floor level, which really crammed everything else onto the other shelves! Chaos I tell you!
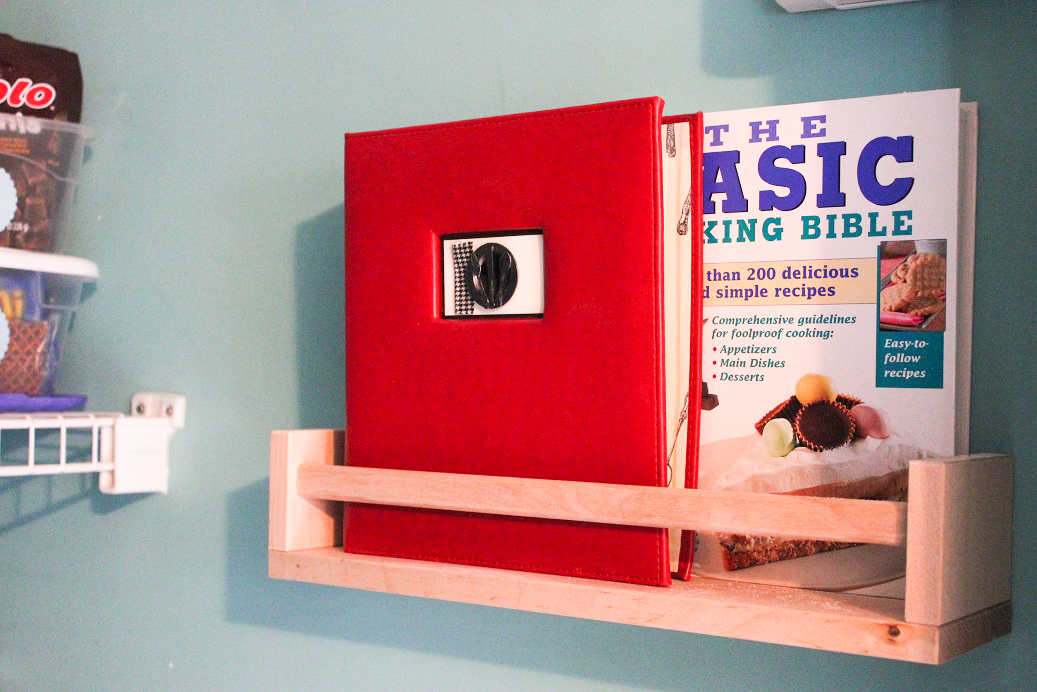
IKEA has these great little spice racks that I am using to hold by recipe books. Of course, they only had one in stock, so I'll have to go again to get the other two that I want :)

At the Dollar Tree, I purchased this hook rack, anchored it in, and finally got my mops and broom off of the floor. Now they won't fall over all of the time :)

Another glace at O's snack basket. It's probably my favorite thing in the pantry!
Well, there you have it! Simply Pantry Organization!
Happy Tune-Up!


